Fully Customisable Templates
The Only Resume Templates You Will Ever Need 🎨
Tired of scrolling through countless mediocre templates on other platforms? We get it.
That’s why we’ve done the hard work for you — curating a set of beautifully designed templates that are easy to read and 100% customisable to fit any country, industry, or hiring style.
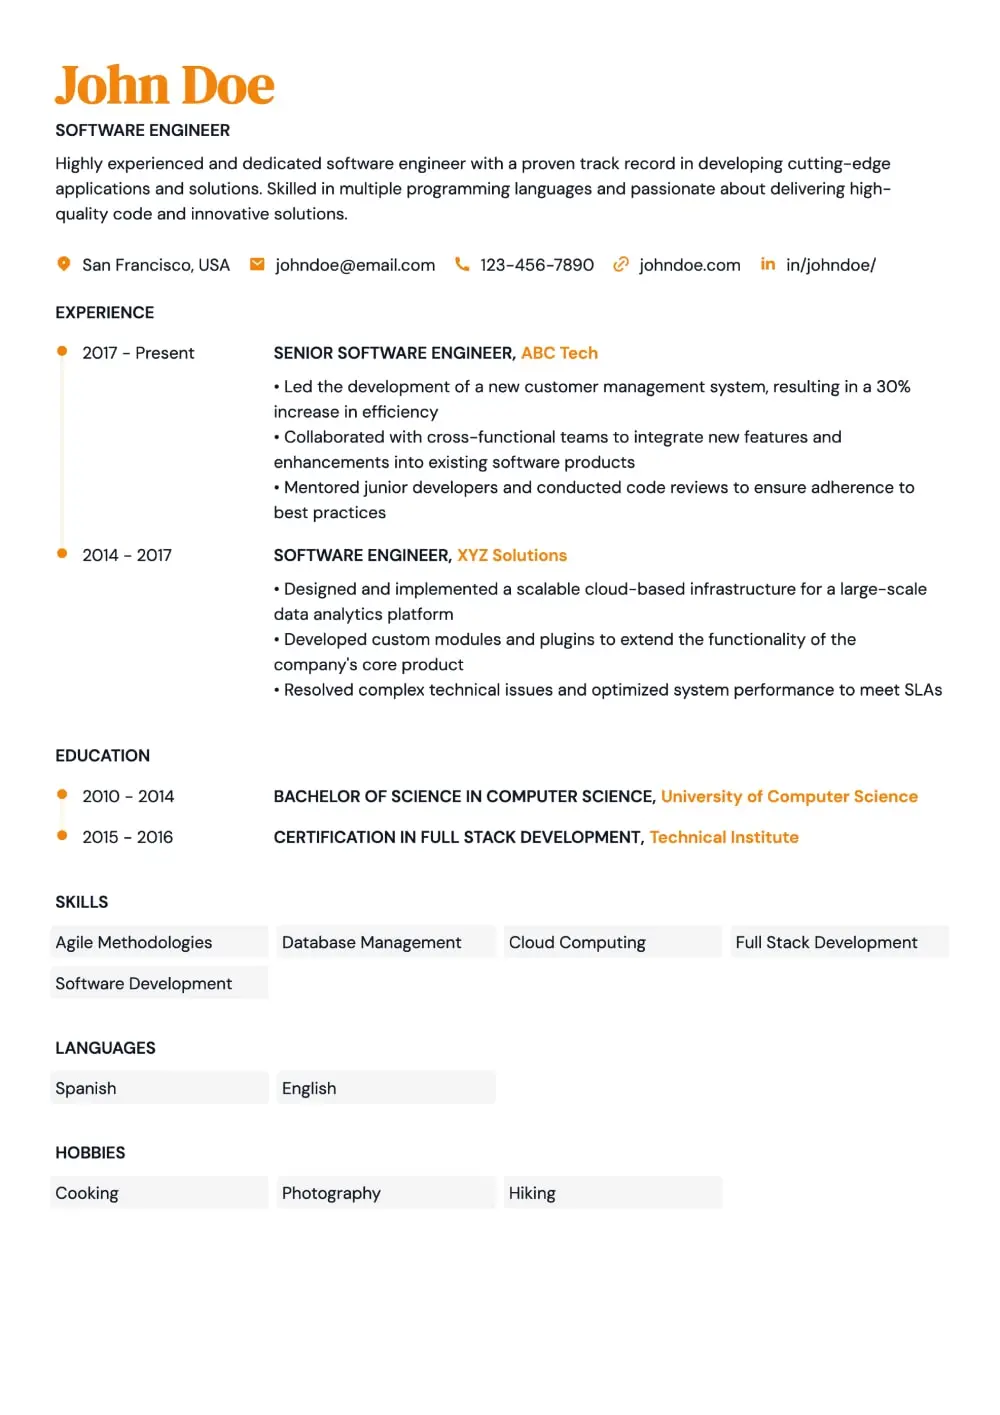
Split
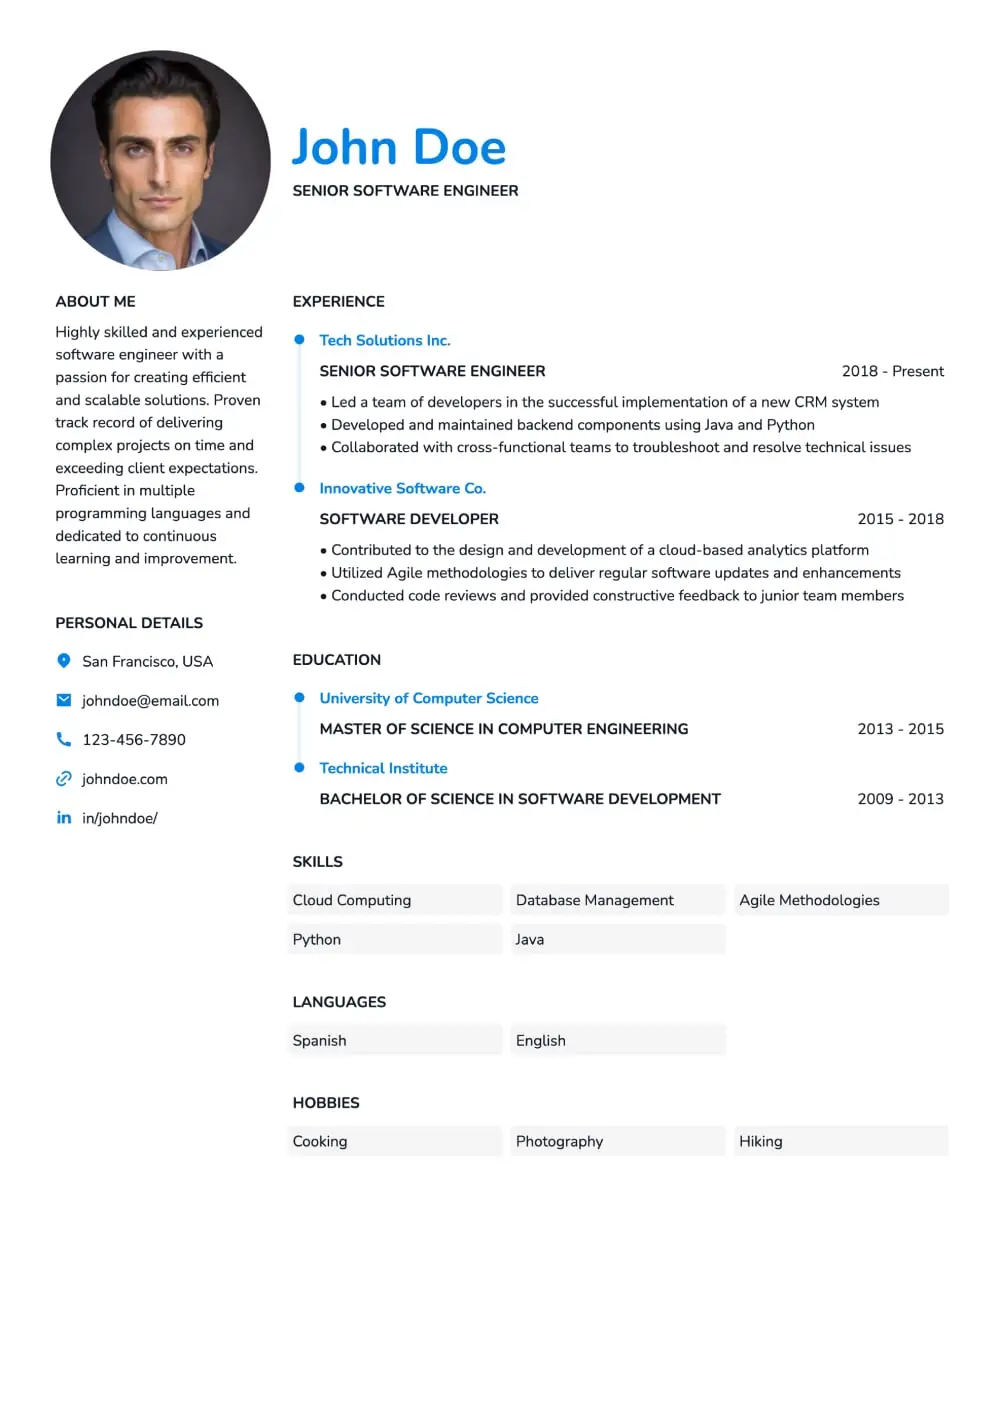
Classic
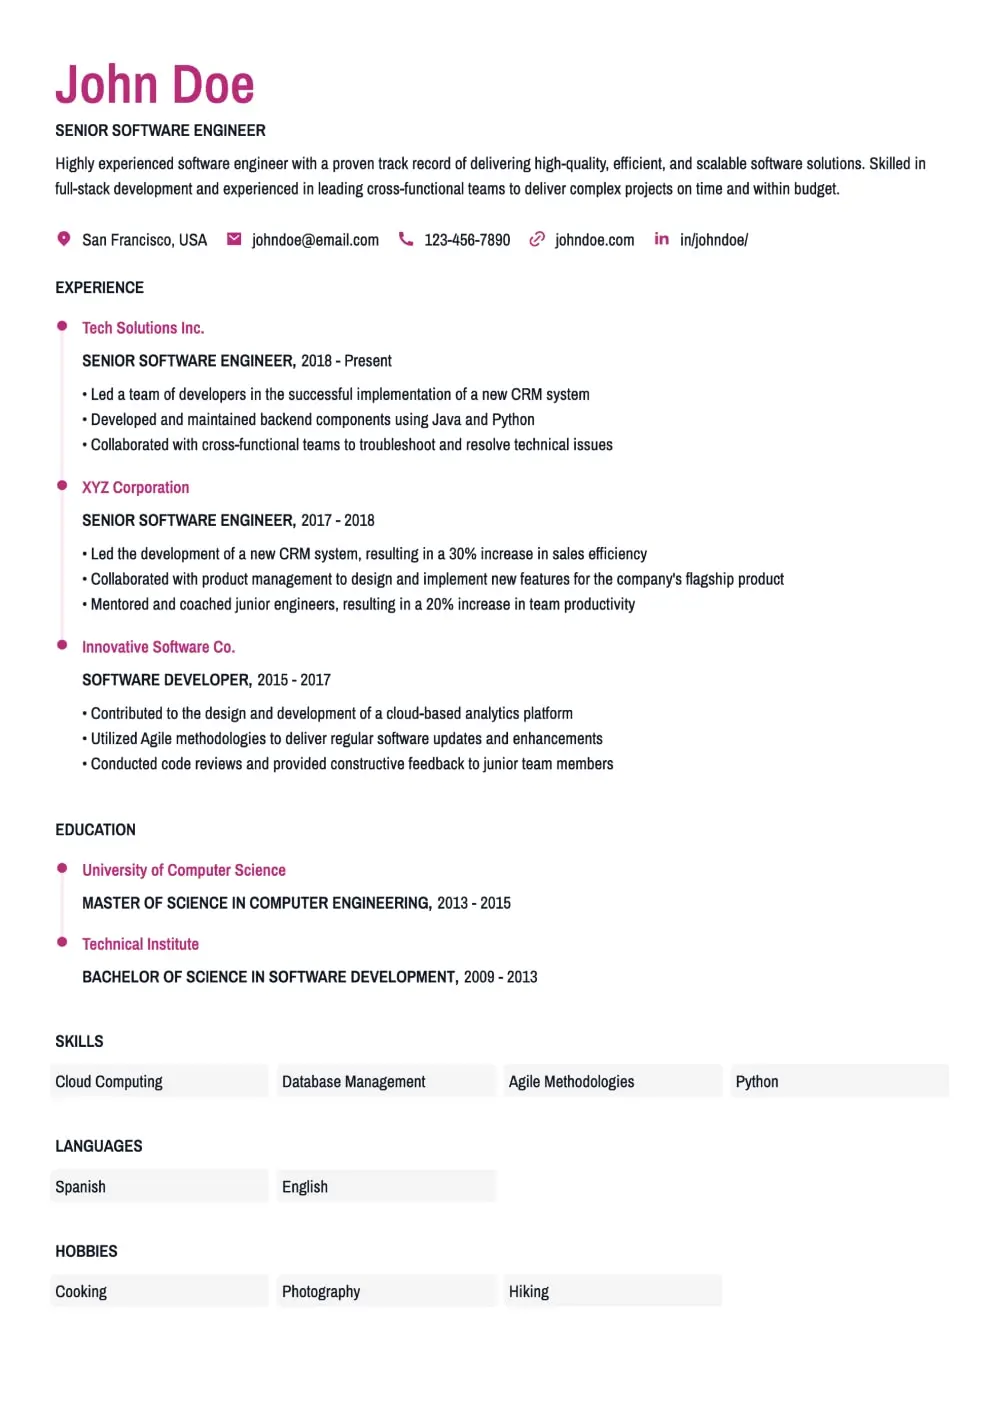
Hybrid